[Solved] How to Record YouTube Live Streaming Video
Way 1. Record YouTube Live Videos on Windows/Mac
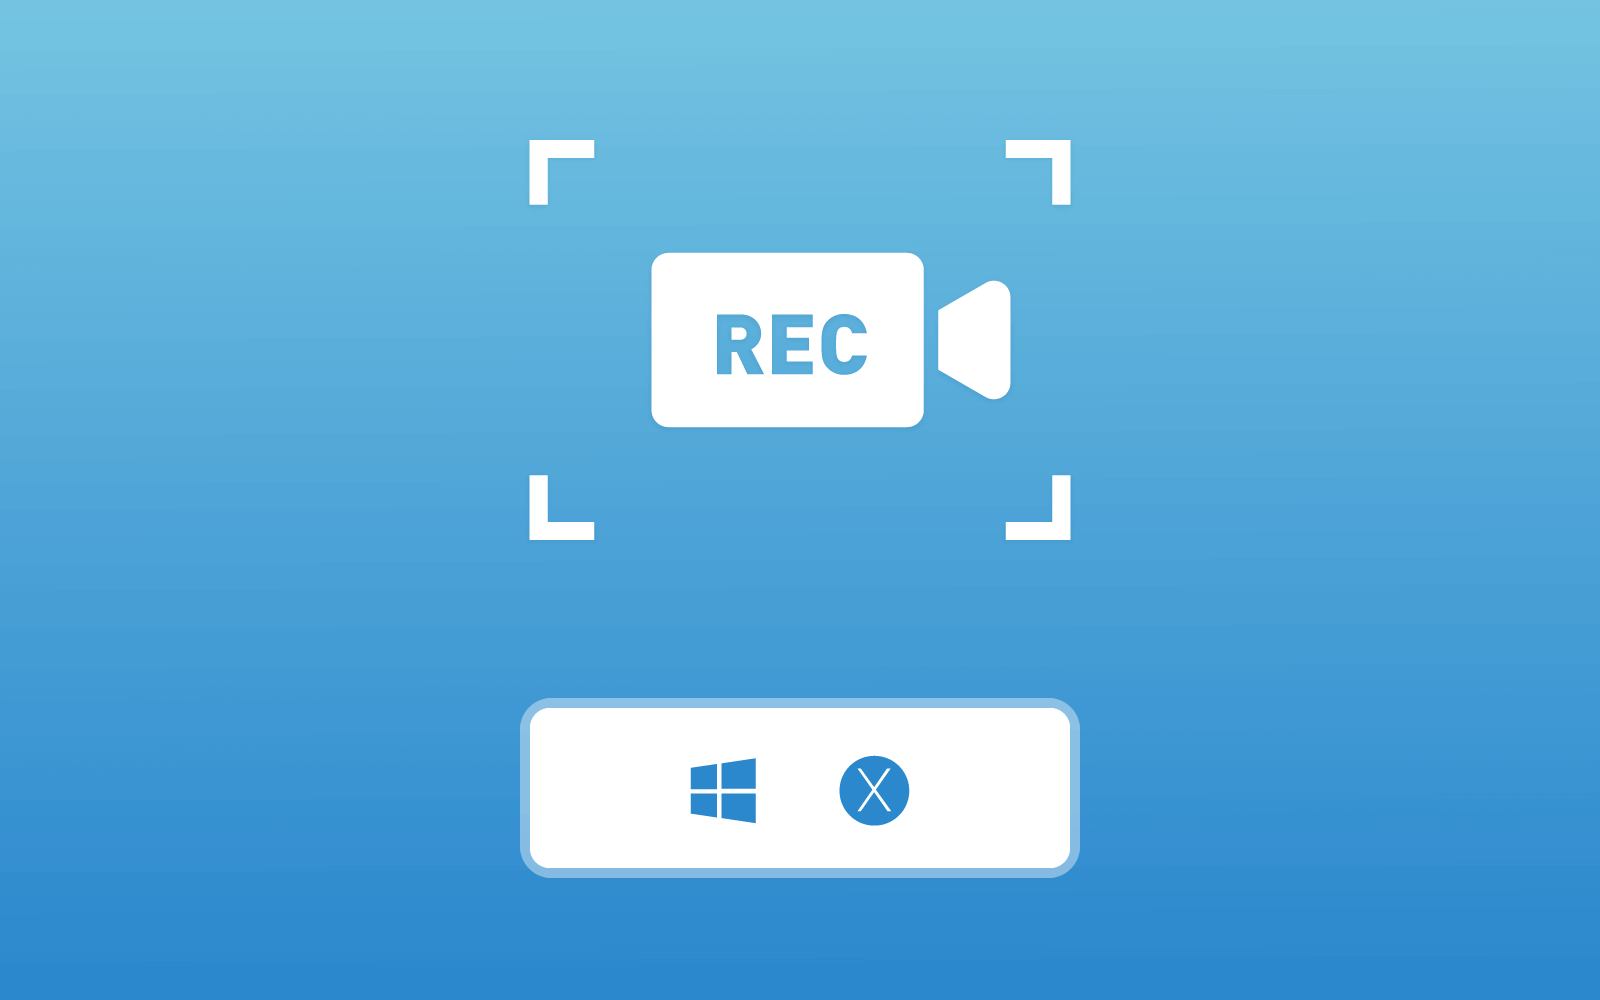
For people who love to watch YouTube Live videos on desktop, RecordAnyVid is an excellent choice to capture YouTube Live videos.
RecordAnyVid is a useful program which meets most of users' screen recording needs.
1. It has good compatibility on both Windows and Mac.
2. Users can record YouTube Live videos in full screen or just record specific regions they want.
3. RecordAnyVid offers a lot of user-friendly tools. For example, it equips with a timer which enable users to set record length. And the Task Schedule feature allows users to start and end a recording at a specific time.
4. RecordAnyVid also supports multiple output formats including WMV, MP4, MOV, AVI, AAC, MP3, M4A and WMA. Users can choose to record video only or audio only.
Below are the steps to record YouTube Live Streaming video with RecordAnyVid.
STEP 1. Download and proceed with installing RecordAnyVid.
Windows users should first choose the exact program suitable for your operating systems. RecordAnyVid offers a free trial version allowing users to try it before purchase it.
STEP 2. Customize your recording settings.
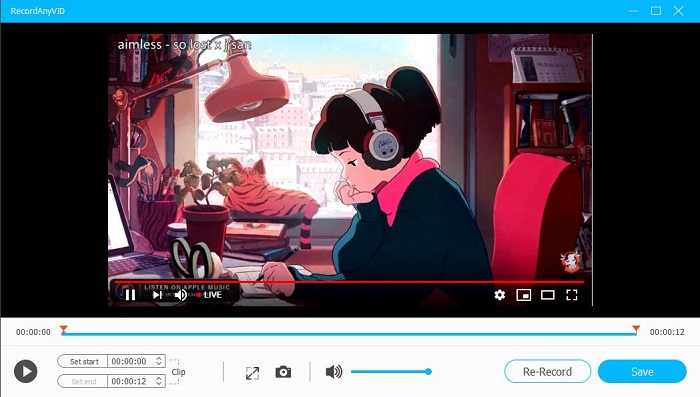
After successfully installing RecordAnyVid, launch the program. On its interface, RecordAnyVid provides three options, and click on to the "Video Recorder" section, then you can customize the recording area, system volume, and microphone volume on the panel.
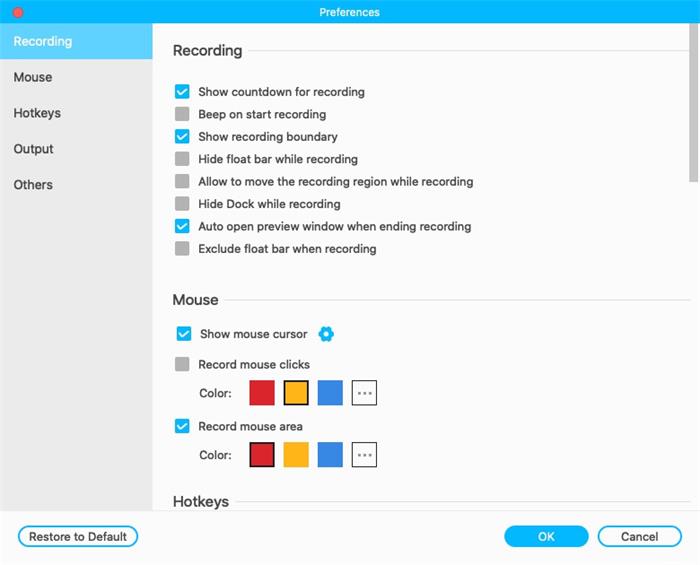
Click on to the setting icon then you can adjust more preference. For example, you can change the location of output files and output format or customize hotkeys. You can also select whether to record mouse clicks.
Way 2. Record YouTube Live Videos on iPhone/iPad
You can also record YouTube Live videos on mobile devices. And recording YouTube Live videos on iPhone/iPad is super easy, because iOS 11 and above has a screen recorder feature. However, devices under iOS 11 are advised to turn to third party screen recorder app in App Store.
Here is how to record YouTube Live videos with the built-in screen recorder.
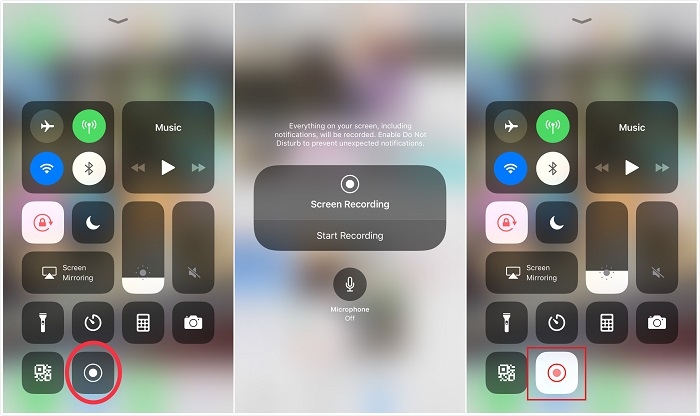
STEP 1. Head to "Settings" > "Control Center" > "Customize Controls", and look for "Screen Recording". Then tap the add-in icon to add the feature to appear in Control Center.
STEP 2. Swipe to open Control Center, then tap the record button to start recording. You can press and hold the record button if you want to enable your microphone to record audio.
STEP 3. Open the Control Center and tap the record button again to finish recording. And the screen recording video will be saved to Photos.
Way 3. Record YouTube Live Videos on Android Phone/Tablet
Besides, Android Q users can take advantage of the official version of built-in screen recorder.
Although Android 10 has an official version of built-in screen recorder, the feature is disabled by Google. However, you can manually unlock this feature by enabling the "Developer options".
How to Enable Developer Options in Android?
In the End
These are the methods to record YouTube Live streaming videos to different platforms. All are simple and convenient. You can choose anyone you like for recording your favorite YouTube Live videos, and even record live streaming videos on other platforms. And don't forget to share this article with your friends if you find it useful.
Leave a Comment
* By clicking “Submit”, you agree to our terms of service, privacy policy and cookies policy.


