Best Screencast Software for Windows/Mac to Create Video Tutorial
Part 1. What is a Screencast Software? How to Choose it?
A screencast, also known as ScreenCam or a screen capture, is a digital recording of computer screen output usually containing audio narration. The term usually compares with "screenshot". But a screenshot is a single picture generated from a computer screen whereas a screencast is a video of what a user sees on the computer screen, accompanied with audio narration.
Screencast is a useful tool in demonstration. There are so many screencast software in the market. Then you may wonder what can be called a qualified screencast software. Or, is there any criteria to define a good screencast? A good screencast tool should be:
√ Easy to use
√ Able to record voice
√ Have basic editing tools
√ Easy to share
These are main features that a good screencast tool should be equipped. The following part will introduce one of the best screencast software which has amazing performance on both Windows and Mac.
Part 2. Best Screencast Recorder for Windows/Mac
RecordAnyVid is an all-in-one screencast software you can use to create high-quality video tutorial for instructional purpose. This software features with three modes. It enables you to record full screen or customized region of screen. Also, if you want to want to record audio only, RecordAnyVid supports you to record both microphone and system sound. The software also provides option to turn off microphone if you don't want the environment sound affects your screencast.
Key Features:
Plans and Pricing
√ Free trial edition is available.
√ Registered version will provide more features and functions.
The paid version enables you to screencast a video with no length restriction. Additionally, you can clip video or audio before saving in the registered version.
Part 3. How to Make a Video Tutorial by Using Screencast Software on Windows/Mac
RecordAnyVid is an easy to use screencast software. You can use this tool to create a video tutorial with just a few clicks.
STEP 1. Download and Install RecordAnyVid.
Download RecordAnyVid on the official page. Both free version and paid version are offered, and you can try the free edition according to your operating system before purchasing.

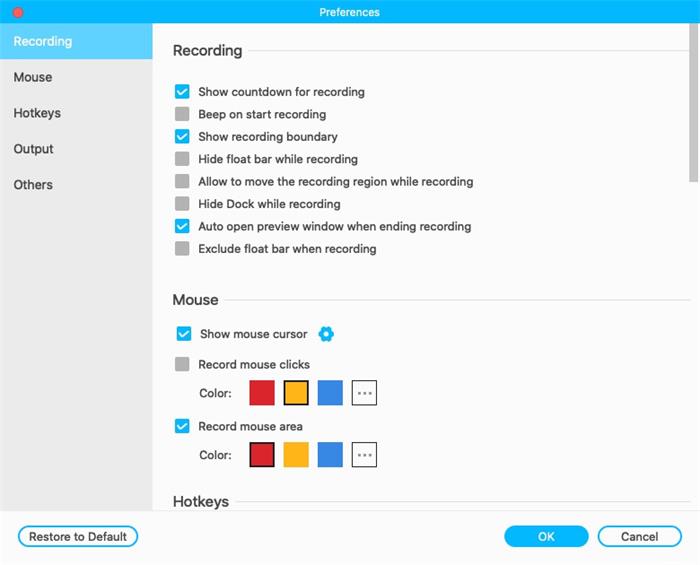
Click in to "Video Recorder" and you can see a setting icon. Click on it you can access to preferences setting. In this section, you can change output formats, frame rates, and location. Also, you can select if mouse cursor should be presented in your screencast.
STEP 5. Save Your Video Tutorial.
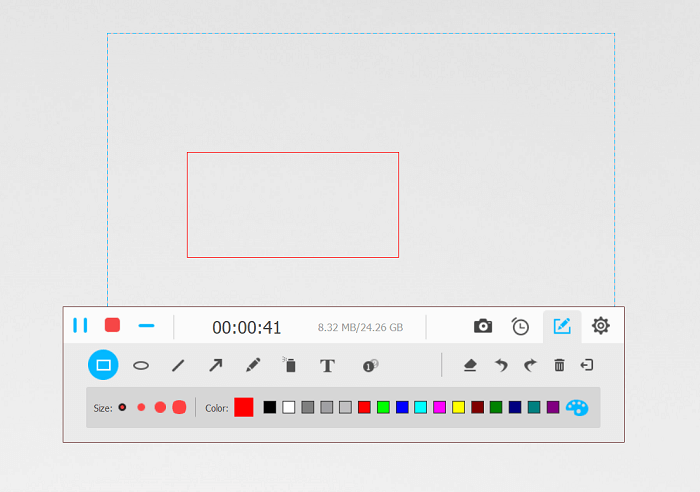
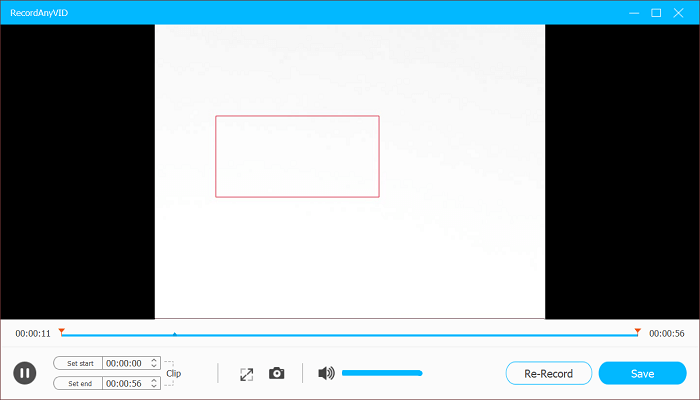
Click the red button on the recording bar to end the recording process. And RecordAnyVid will proceed to a previewing window. You can also make some adjustments such as increase the audio level if you find that you have low volume or trim unwanted parts out of your recording.
After that, you can choose "Save" to export your video tutorial and share it with others.
In the End…
Screencasts are helpful tools to demonstrate your ideas in your presentations, training, or even emails. After viewing this guide, you may know more about how to make the best use of a screencast software to create a video tutorial. RecordAnyVid is perfect option to record your screencast and even record online contents which are not downloadable for personal use. Just try using RecordAnyVid and make your first video tutorial.
Leave a Comment
* By clicking “Submit”, you agree to our terms of service, privacy policy and cookies policy.


