Are you seeking for ways to transfer YouTube to USB? From past to now, USB helps many people store files, music, or videos into a portable tool. With a computer, people are possible to use these materials anywhere or share them with others easily. Therefore, some people use USB to store photos and videos, so they can look at them anywhere and call their memories to mind. Some people use USB to deposit songs, so they can playback it anytime and anywhere. And other people use USB to carry files like contracts, so they can do business even though they fly another city.
As we all know, USB is a traditional but widely used and safe way for people to keep things. As long as people keep it carefully and prevent it from being stolen, USB can also be a permanent method for saving things. Therefore, nowadays, many people still choose to download videos in MP4 and songs in MP3, two widely accepted formats. Here in the blog would like to provide a tool for you and the way to use this tool to download videos in MP4 or music in MP3 from YouTube to USB, as YouTube is a great place with countless video/music resources. Now let's move on!
Part 1. Directly Download and Save YouTube Videos to USB in MP3/MP4
MP3 and MP4 are the most commonly used formats to encode media content because they can be supported by most devices as well as media players. So to download YouTube videos to MP3 or MP4 first, then save them to USB stick allows you to then play on any device you will transfer the YouTube videos to.
VideoHunter will help you directly download and save the YouTube videos to USB in MP3/MP4 when you need. It seems to have the super power and all you want for an excellent video downloader. In addition to the high quality and compatibility, VideoHunter also has many brilliant features that make people select it.

* Easy steps to convert and download online videos from 1,000+ sites to different formats like MP3, MP4, WEBM;
* A video converter will be provided to convert local video and audio to 20+ formats;
* High quality like 1080p, 2K, 4K, and 8K are available for selecting;
* User-friendly, secure, and professional services are guaranteed;
* Can be used on both Windows and Mac computers;
* Free trial is available for a 15-day usage for try all its features.
After grasping the sparkling features of VideoHunter, turn to see how easy it could be to convert and download YouTube videos to USB in MP3/MP4.
STEP 1. Install VideoHunter on Computer
First, before you can do anything else, please go to the official website for installing VideoHunter for your Windows or macOS computer. You can experience the free trial in the first place. You will have 15 days to use the free version.
STEP 2. Copy the URL of YouTube Video
In your browser, please navigate to YouTube and search for the video you want to save in MP3/MP4 to a USB stick. With the help of YouTube's powerful search engine, you can easily get to the result. Please copy the URL of the YouTube video, and then launch VideoHunter. Remember to insert the USB to your computer as well.
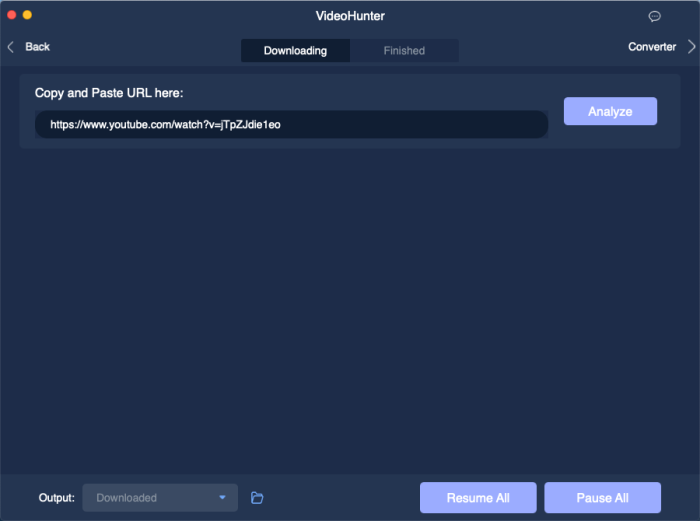
STEP 3. Paste the YouTube Video URL and Analyze It
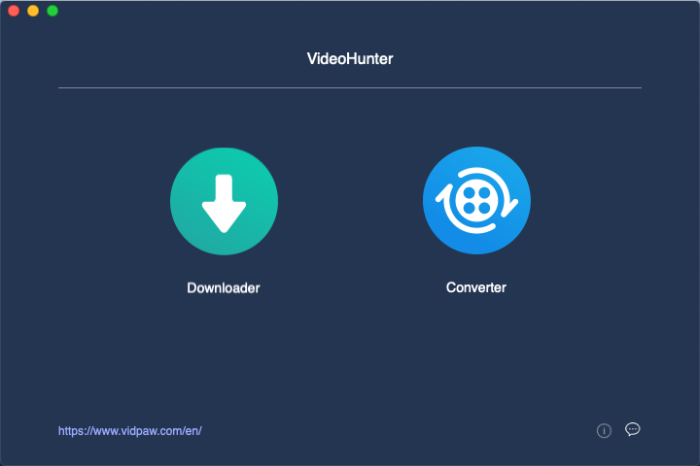
After launching VideoHunter, enter the Downloader interface and you will find the downloading bar located in the middle. Please paste the URL of the YouTube video to it, and then, in the bottom of this interface, you have the chance to select the output path as your USB. After setting, please hit the Analyze button for converting the video.
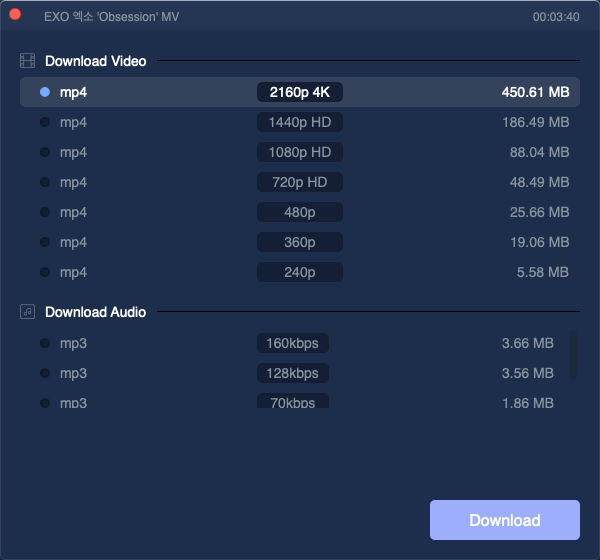
STEP 4. Download YouTube Video to USB
As VideoHunter ends converting the YouTube video, a brunch of output options are provided. Please select MP3/MP4 and the quality you need. Subsequently, click on the Download button set in the lower right corner and you can download the YouTube to the USB stick.
Part 2. FREE Way to Download and Convert YouTube Videos on Desktop
We do know that VideoHunter only offers a 15-day free trial to all users for enjoying its high-quality and amazing online video download service. When you end the free trial and want to continue on downloading YouTube videos with VideoHunter, it seems that you can only purchase the registered version for using. But if you don't care much about the quality and the downloading speed, actually, VidPaw Online Video Downloader can be a choice to download and convert YouTube videos on desktop as well.
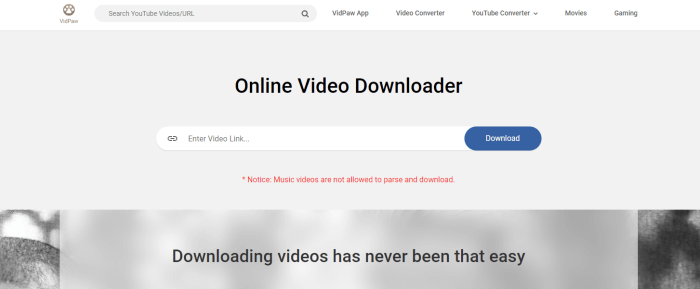
VidPaw Online Video Downloader is an online platform offering free video downloading service. Only with a browser, everyone can save the online videos they need with ease. VidPaw Online Video Downloader also supports the 1,000+ sites video/audio downloading, but by comparison, it can only save the online videos in 720p in maximum. But it is still an alternative way if you would like to download YouTube videos to USB in MP4/MP3 for free.
Here is how you should use VidPaw Online Video Downloader on your desktop to convert and download YouTube videos to USB.
First Way. Download and Convert YouTube Videos via URL
STEP 1. Copy the URL of the YouTube Video
First, you should open a browser and go to YouTube platform for hunting the YouTube video you want to download. There are thousands of results provided there, so make sure you are choosing the right version you need. After accessing the video and enter its video page, copy the URL of it.
STEP 2. Paste the YouTube Video URL to VidPaw
Open a new tab in the browser and navigate the page to VidPaw Online Video Downloader. Likewise, when the downloading bar is located there, you should paste the YouTube video URL to it. Also press the Download button in the right side to enable VidPaw to resolve the URL.
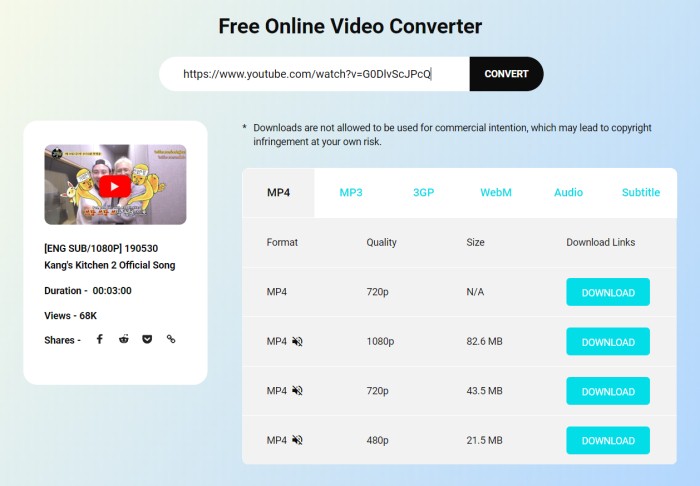
STEP 3. Select Output Format and Quality
When the resolving process is done, VidPaw Online Video Downloader will offer a range of output options to your. You can find MP3/MP4 format here. So choose the format and quality you need, then click on the Download button on the same column of the option you select. After that, the YouTube video will be downloaded locally on computer.
When you get the YouTube video file offline, insert your USB and drag it to the local folder. Then you can carry the YouTube video everywhere for free playback! Thanks to VidPaw, what an enjoyable thing it is!
Second Way. Download the YouTube Video via VidPaw Extension
The second simple method to download the YouTube video is to download and install a VidPaw Extension. With the VidPaw Extension, you will become more convenient to download the YouTube videos and transfer them to USB. Let me show you!
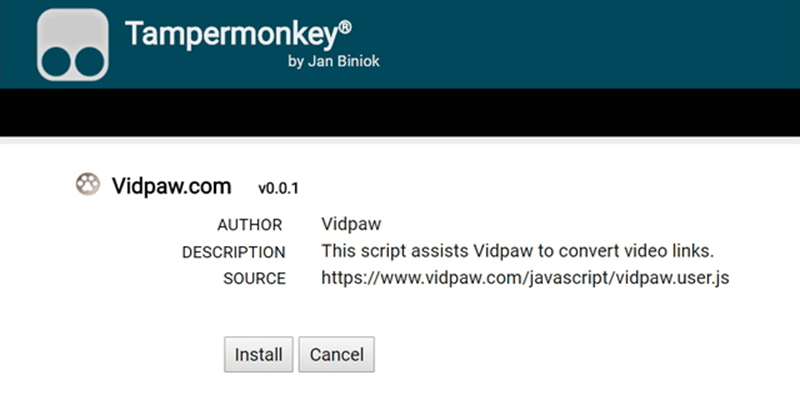
STEP 1. Download and Install Tampermonkey
As a reliable browser protector, Tampermonkey ensures that your browsers work stably and perform as expected. Tampermonkey greatly supports VidPaw Extension’s work. Therefore, before you install the VidPaw Extension, you will need to install Tmapermonkey for guaranteeing the VidPaw Extension's going well. You can choose to install the suitable version of Tampermonkey for the browser that you currently use.
Google Chrome Tampermonkey Mozilla Firefox Tampermonkey Safari Tampermonkey Microsoft Edge Tampermonkey 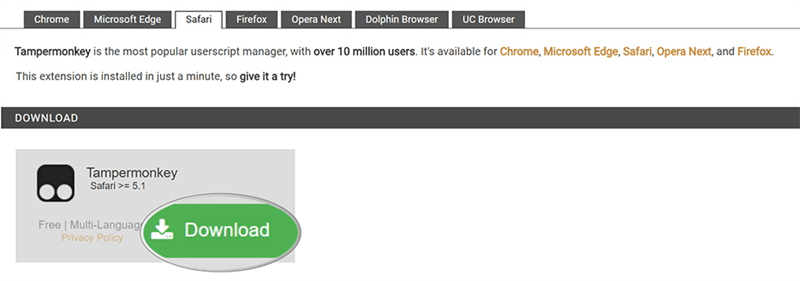
STEP 2. Download and Install VidPaw Extension
After you have done with downloading and installing Tampermonkey, don't forget to install the '
VidPaw Extension'. Without VidPaw Extension, you would miss the way to download the videos from YouTube directly and conveniently.
STEP 3. Download the YouTube Video with VidPaw Extension Directly
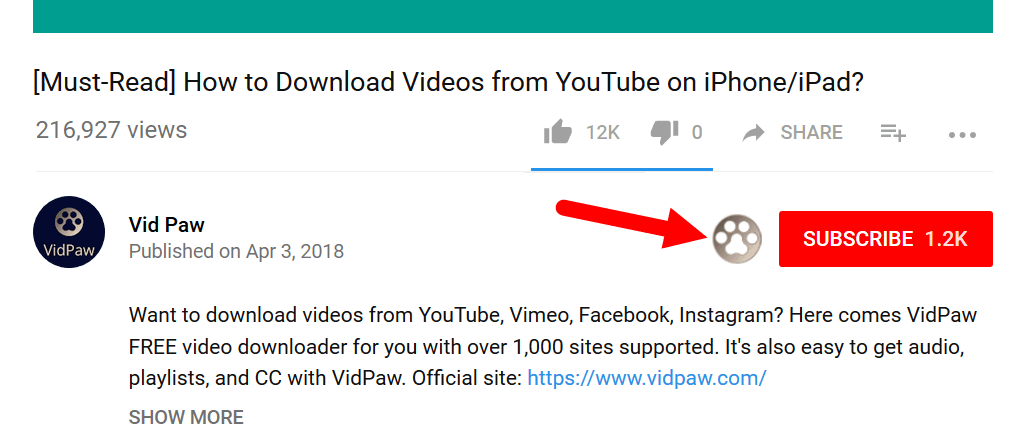
With the VidPaw Extension, go to the YouTube page of the video again, refresh the page, and you can see a VidPaw icon below the video. Now you can tap this download icon and the page will directly navigate you to the VidPaw page with a list of formats and quality available for download. Choose one from the list and tap Download on the right. Subsequently, you can transfer the downloaded YouTube video to the USB.
Third Way. A Small Trick to Download the YouTube Video
As simple as the above two ways, the third method, adding 'paw', also provides a pleasant user experience. Let’s try it together!
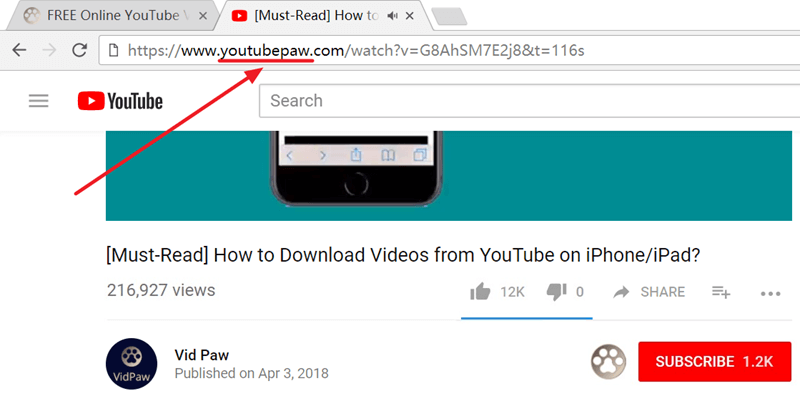
STEP 1. Search for the video that you would like to download on YouTube. Add 'paw' directly after 'youtube' on the URL of the video on the address bar.
STEP 2. Press Enter and the page will automatically guide you to the resolving page of the video on VidPaw.
STEP 3. After VidPaw finishes resolving the URL, it will provide various choices for you to choose the format and quality for the video. After choosing, you can tap Download on the right to obtain the video and save it to the USB.
NOTE: This method could only be used when you download videos from YouTube.
Part 3. Import YouTube to USB on Windows/Mac
Please also finish the following steps to transfer your songs in MP3 to USB. You may also try these steps to transfer your video to your USB. This blog will first introduce steps on Window system and then Mac system.
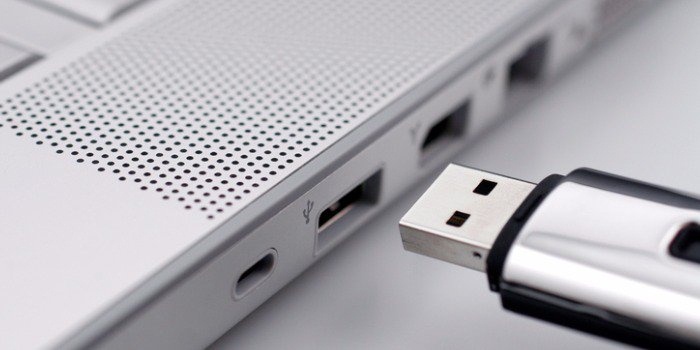
STEP 1. Insert Your USB to Computer
Find the USB port on your computer and insert your USB in correct accordance with the port design.
STEP 2. Find out the Location of Your USB
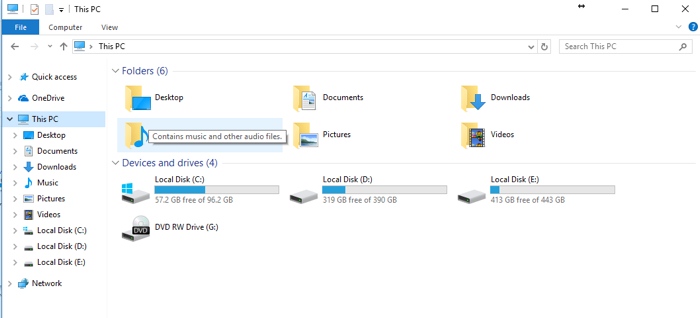
If you would like to store things into your USB, you need to know the location of your USB. After inserting your USB, the computer will recognize your USB and a window will automatically pop out and ask whether you would like to access your USB. If the window doesn't show up, you can also click 'This PC' on desktop and open it manually. Then, in 'This PC', roll down and you will find your USB.
STEP 3. Move the Downloaded YouTube Song to USB
Open the file where you saved your downloaded song. Meanwhile, open your USB. Then click the downloaded song and pull it from where it is stored to the file of the USB. Once the song has been moved, you finish all the steps of saving a downloaded song in MP3 to your USB.
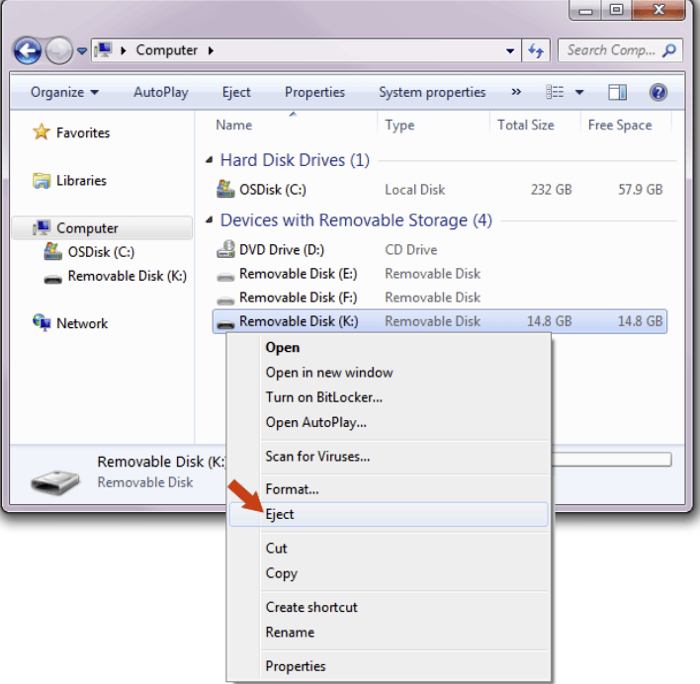
STEP 4. Remove Your USB
After you have stored all the songs that you would like to transfer to your USB, you can put your mouse right above the USB file and right-click your mouse. Then a list of the USB file will appear and please choose Eject. Only after your computer tells you that your USB has been removed can you take your USB out of the port. Now you finish the whole process on Windows system.
STEP 1. Insert Your USB on Your Mac
As operated on Windows system, the first step is to find the USB port for your Mac and insert your USB in it. After the USB is connected to the computer, the USB will automatically react on the computer, and a file of your USB will appear on the desktop.
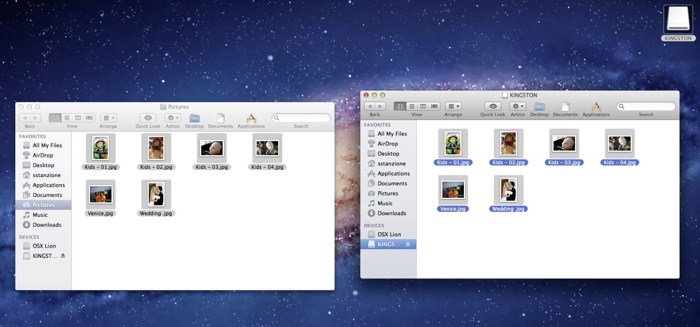
STEP 2. Transfer the Song to Your USB
Open the file where your downloaded song is grabbed. Also, open your USB file. Then click the downloaded song and drag it from where it is grabbed to the USB. Then you complete the procedures of copying the song to your USB.
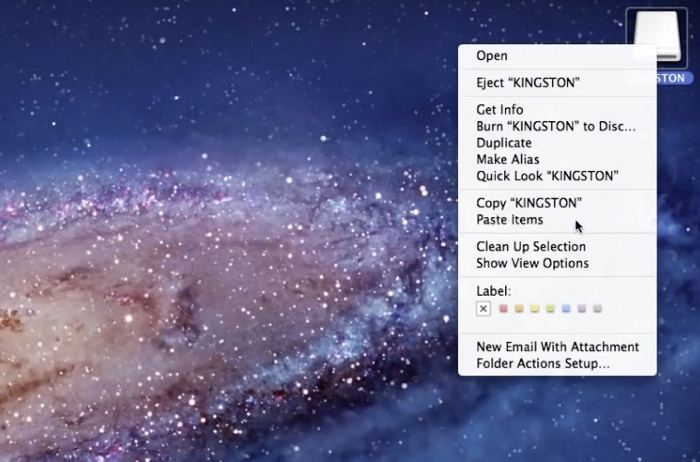
STEP 3. Remove the USB
After finishing saving the downloaded song in MP3 to your USB, you can safely remove your USB by putting your mouse on the USB file and right-clicking your mouse. Then a list will show up, giving you options to choose. Choose Eject and after the file disappears, take the USB out of the port. By doing so, you can ensure that both your USB and your Mac are safe.
Now you have finished all the steps to download and save YouTube videos or songs to your USB! Therefore, it is rather convenient for you to playback the videos or songs whenever and wherever you want. Also, with VidPaw Online Video Download and its VidPaw YouTube to MP3 Converter, you can store as many as videos and songs as you like. So, grab your fun and have great experience!


 VidPaw App
 Online Video Downloader