3 Ways to Record a Webinar on Windows or Mac

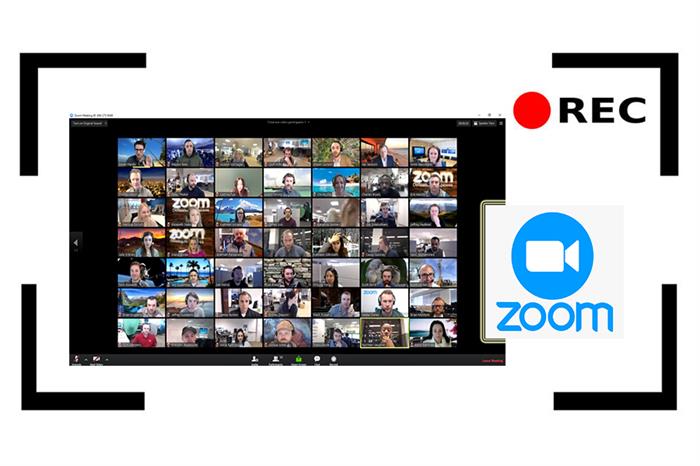
A webinar, short for "web-based seminar", basically is a type of web conference that allows a presenter or host to give an interactive presentation and convey knowledge with webinar attendees in the real time.
As an incredibly flexible and reliable tool, Webinars have been valued by businessmen to reach out to people across the world. Also, people use webinar to hold online meetings. Webinar basically offers a chance to work on projects in real time without teams having to be present in the same geographical location.
When attending a great webinar, has it crossed you mind to record a webinar for your own reference later or to share the content with others? This article will show you three different ways to record a Webinar.

Way 1. Record a Webinar with RecordAnyVid
Using a screen recorder is an effective way to record a Webinar or video conferences. RecordAnyVid is a versatile screen recording tool to capture your screen and webcam or record audio. This tool is also extremely helpful in the situation that you attend an important video conference and want to record this video conference to refer later.
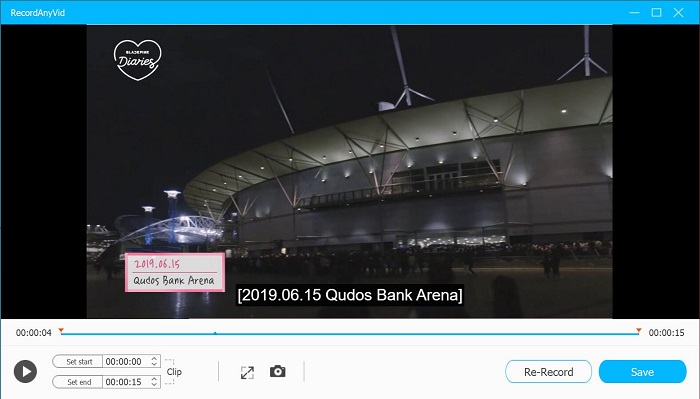
While recording a webinar, RecordAnyVid provides you with features like drawing and adding annotations. After recording a webinar, this screen recorder also provides many useful editing tools to enhance your webinar video.
Highlights of RecordAnyVid
Read on to see how to record a Webinar with RecordAnyVid.
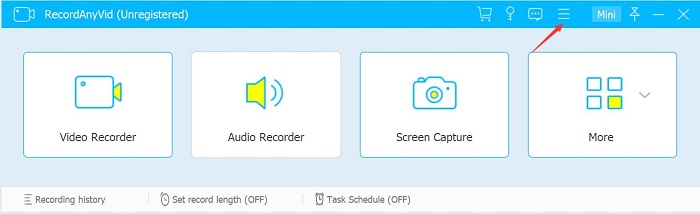
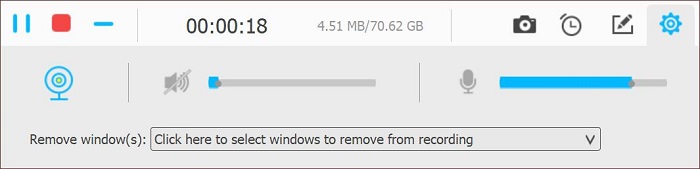
Click on "Video Recorder", here you can select to record full screen or a specific region. Also, you can decide whether to record system sound and microphone sound. Be sure that you set up a desired volume to record your video conference or online meeting.
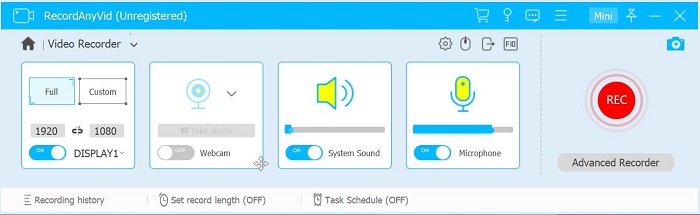
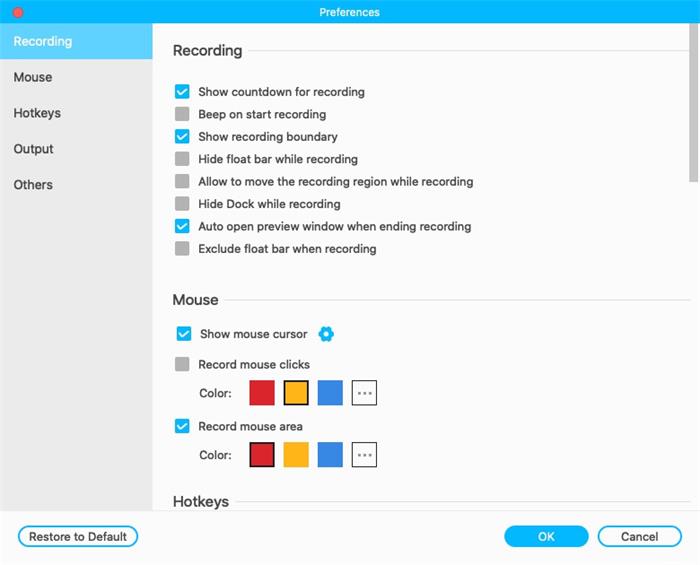
Before you record a webinar, you can also click on the gear icon to adjust your settings. For example, you can change the output format and quality of your screen recordings and the output location for your webinar recordings.
Way 2. Record a Webinar with QuickTime on Mac
Although RecordAnyVid offers a Mac OS version for Mac users, you can use its built-in QuickTime Player app to record a webinar or record a video conference or video meeting.
STEP 1. Launch the QuickTime Player app on your Mac, select "File" > "New Screen Recording" to open screen recorder and display the tools. If you want to set the area where you want to record your webinar video, just click "Options" to control.

STEP 2. Click "Record" and QuickTime will start capture your webinar. Click the stop button in the menu bar to end recording your webinar or online meeting. Depending on where you chose to save the webinar recording, an app may open.

Way 3. Record a Webinar with Xbox Game Bar on Windows 10
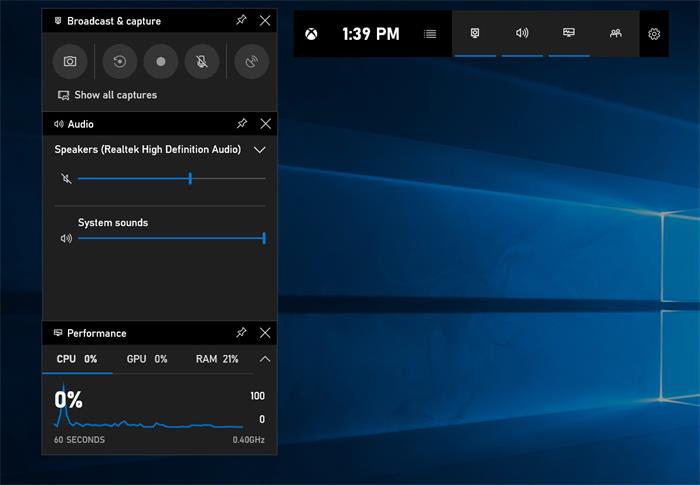
Windows 10 has an Xbox Game Bar feature which allows you to record a webinar or record a video conference without installing extra software.
Before you record a webinar with Xbox Game Bar, it is necessary to mention that Xbox Game Bar doesn't support you to record the entire screen, which means you can only record one window/app at a time. Also, there is a time limit on recording video with Xbox Game Bar.
Webinars give us the opportunity to interact with people around the world. Recording a Webinar is a fairly easy task. After saving your webinar recordings, you can watch it at anytime and even share the valuable content with others to convey useful knowledge. Just make the best use of these screen recording tools for saving important webinars.

Leave a Comment
* By clicking “Submit”, you agree to our terms of service, privacy policy and cookies policy.