VLC Player is well-known as a media player. Technically speaking, it can play every type of media file that you throw at it. Apart from this powerful feature, you might be not aware that VLC is capable of screen recording. It is a great feature especially when you encounter with situations that require you to do some quick screen recording.
For instance, you may use VLC screen recorder to report an error message for technical support. Also, when you need to save important stuffs for reference later, you can turn to this screen recorder. Regardless of the reasons, VLC does a great job in recording your screen. Read on to see how this handy tool can do in recording your screen activity.
Part 1. Easily Record Your Desktop Using VLC on Windows
It is fairly simple to capture your screen with VLC. Download and install VLC on your computer and let's take a look at how VLC perform as a screen recorder on Windows.
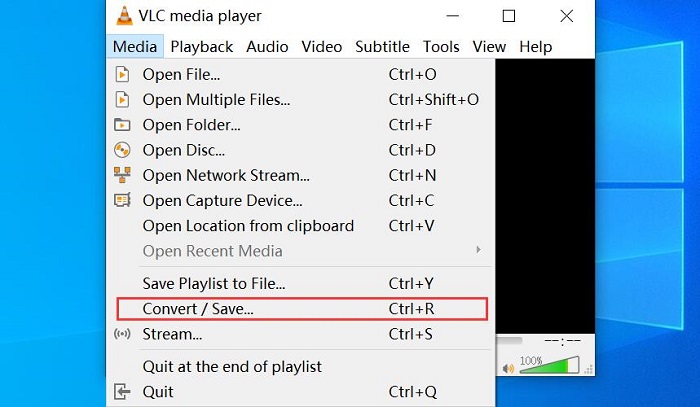
STEP 1. Launch VLC and navigate to "Media" tab, then select "Convert / Save…".
STEP 2. Click the "Capture Device" tab. And select "Desktop" from the "Capture mode" dropdown menu.
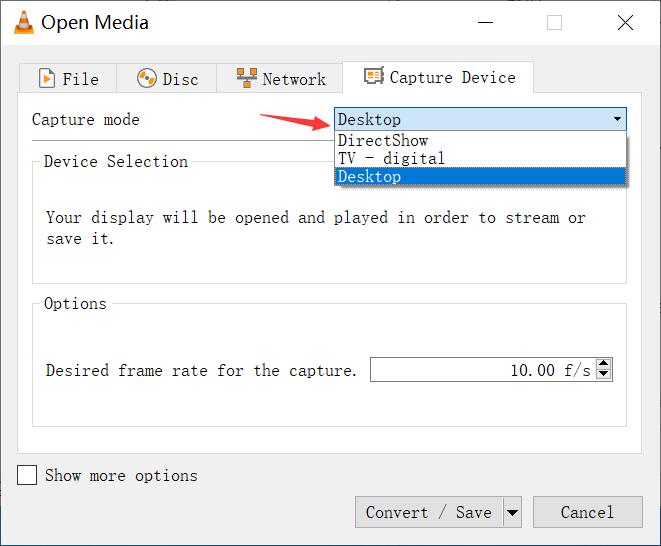
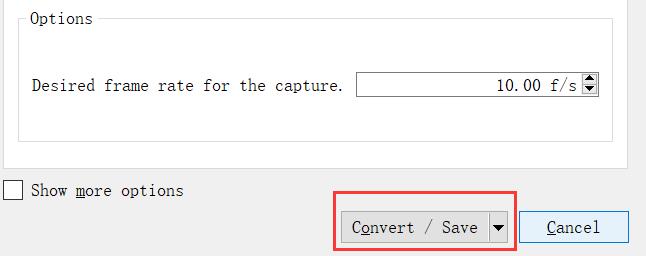
STEP 3. Now set your desired frame rate. To make your screen recording smooth, it is advised to set 10 f/s if you are not about to record fast-moving objects or video. After setting a preferred frame rate, click the Convert / Save button at the bottom.
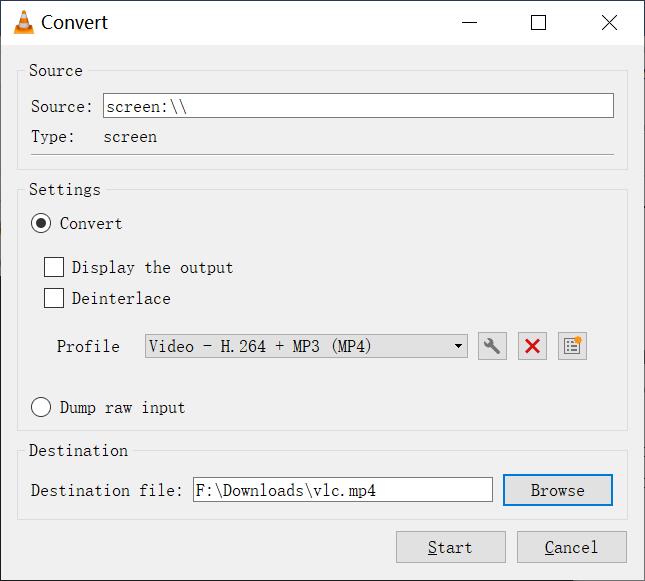
STEP 4. To adjust the resolution and video codec for your screen recording, select a profile from the profile box to use its presetting. Or, you can click the edit button to the right of the profile box to customize your settings.
STEP 5. Click "Browse" in the Destination section to select a save location and name your file, then press the "Save" button. Now press "Start" and VLC will start to record your screen.
Part 2. How to Record Screen with Audio on Mac
In addition to record your screen with VLC, there are other screen recording software out there that are better equipped for this particular task. We also recommend you to use
RecordAnyVid.
RecordAnyVid is a versatile screen recorder packed with features and tools that helps you easily record desk activities. It has good performance on both Windows and Mac. If you are looking for a VLC replacement to help you in record your screen, RecordAnyVid can be a top choice.
RecordAnyVid Main Features
* RecordAnyVid provides a range of output formats for your screen recording, such as WMV, MP4, MOV, and F4V.
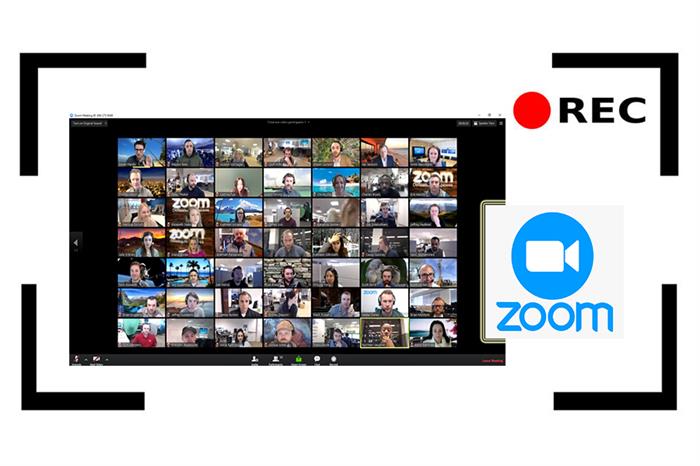
* RecordAnyVid allows you to record online meeting in Zoom, Microsoft Teams, Skype, and Google.
* RecordAnyVid supports you to record a customized area, full screen, or webcam.
Here is simple guide on record your screen with RecordAnyVid on Mac.
STEP 1. Download and Install RecordAnyVid on Mac.
Access to RecordAnyVid, and download and install the Mac version.
Note: if you fail to install RecordAnyVid on Mac, please navigate to "System Preference" and enable "Allow apps download from: Anyway".
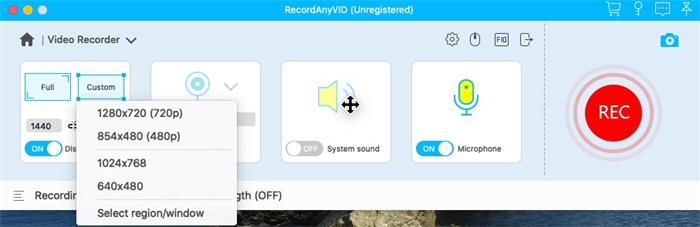
STEP 2. Customize Your Settings.
Launch RecordAnyVid and click on "Video Recorder" on the interface. You can adjust the recording area according to your needs or change the system volume or microphone volume to a desired level before recording. Click on the gear icon, and select "Preferences Settings", you can alter your output location and output format and quality for your recordings.
STEP 3. Start Capturing Your Desktop Activities.
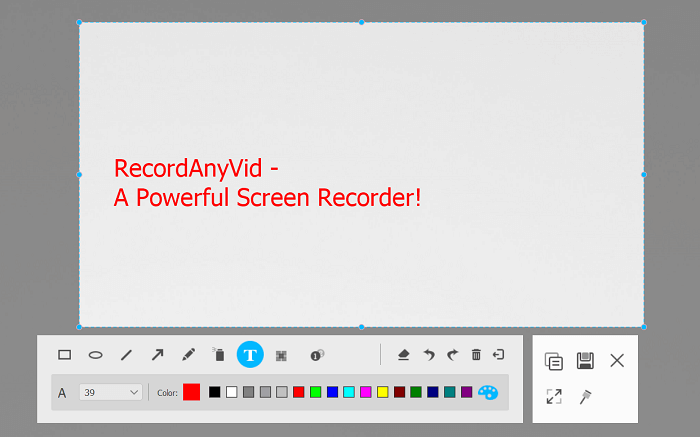
Click the REC button on the right side of the panel if you are ready to record your desktop. When recording your desktop activity, you can use the drawing panel to add annotations.
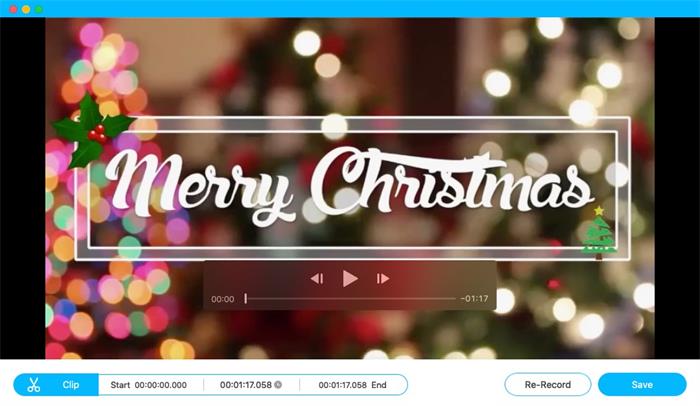
STEP 4. Save Your Recordings on Mac.
Click the stop icon on the control bar to finish recording your desktop. After that, RecordAnyVid will open a preview window where you can edit your screen recording. Or, you can directly click "Save" to store your recording on Mac.
Part 3. VLC Media Player VS RecordAnyVid
After viewing the guide on how to record your desktop activity by using VLC Media Player and RecordAnyVid, you may be curious about what is the difference between them. Generally speaking, VLC Media Player is dedicated to play media files of most formats, whereas RecordAnyVid is designed for screen recording. In order to know better about them, here are the advantages and disadvantages of VLC Media Player and RecordAnyVid.
VLC Media Recorder
Pros:
* Free and open source
* Multiple export options
* It provides three different capture mode to let you record your desktop, capture input from a TV tuner card, or record from external device.
Cons:
* It may take a while to adjust your settings.
* Cannot record from a specific region
* Cannot record your webcam and desktop at the same time
RecordAnyVid
Pros:
* User-friendly interface and no watermark
* Scheduled recordings
* You can add annotations while recording your screen.
* It supports record your webcam and desktop spontaneously.
Cons:
* Some features are paid only.
Conclusion
After above guidance and comparison, you may come to know the distinction between VLC Media Player and RecordAnyVid. When it comes to interface, RecordAnyVid's interface is less intimidating than VLC studio. However, in terms of editing feature, only the paid version of RecordAnyVid can edit your screen recording before saving it.
Both of the tools can help you easily record your screen. VLC is great for quick captures. However, if you looking a dedicated screencasting software with more advanced features, RecordAnyVid can be a pretty option. Just choose one that meets your needs.